 Save to Pinterest
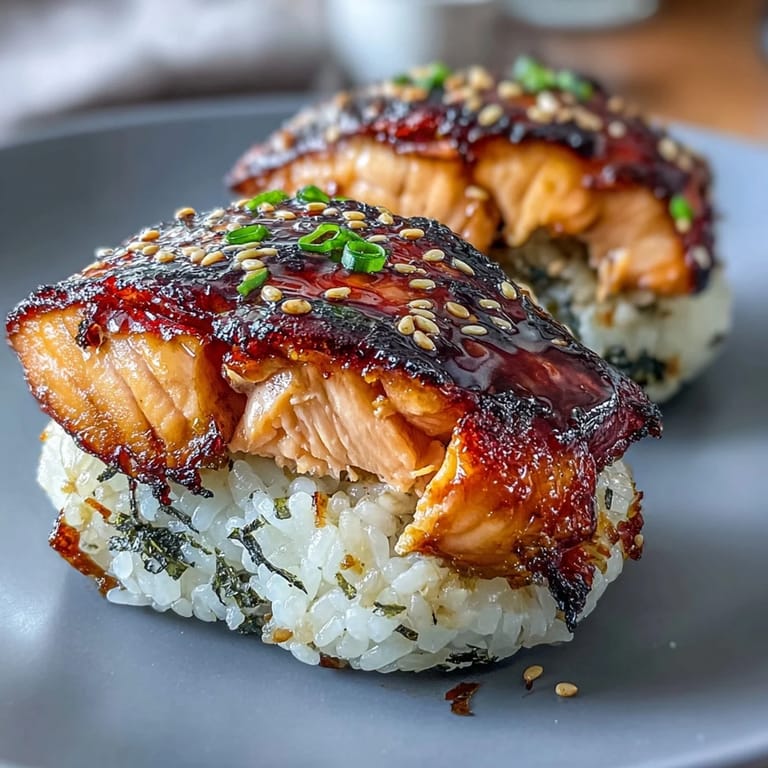
 The first time I made grilled salmon onigiri, it was a rainy afternoon and I found myself craving something warm and deeply savory. The scent of toasting rice hit my senses before anything else, subtle and nutty, followed by the rich aroma of salmon meeting sizzling soy sauce. I almost burned the first batch because I was happily chatting with a friend, distracted by swapping travel stories as we shaped the rice balls. That mishap added a few extra crispy bits to the onigiri, which, surprisingly, everyone loved. Sometimes, a little imperfection turns into the best part of the dish.
Last spring, I made these grilled salmon onigiri for a picnic at the park with my cousins. We ended up eating them before the blanket was fully spread out, nori sticking to our fingers and laughter echoing over the simple, perfect meal.
Ingredients
- Skinless Salmon Fillet: Using fresh salmon ensures the filling is juicy and flavorful—grill until just done to avoid drying out.
- Soy Sauce: Just a splash seasons the salmon; choose low-sodium if you like a gentler touch.
- Mirin: This adds gentle sweetness and a hint of gloss to the salmon—don't skip unless you must.
- Toasted Sesame Oil: A scant drizzle wakes up every bite with nutty aroma, so use sparingly for best results.
- Salt & Black Pepper: Season the salmon simply and taste as you go; little adjustments matter.
- Japanese Short-Grain Rice: Proper stickiness is the secret to making onigiri hold their shape—rinse well to remove excess starch.
- Water: Use just enough to cover the rice, so it turns out soft but never mushy.
- Rice Vinegar (Optional): A dash lifts the flavor of the rice, but skip it if you prefer a mellow taste.
- Nori Sheets: Crisp, toasted nori adds textural contrast and savory flavor—slice to size before wrapping.
- Toasted White Sesame Seeds (Optional): They bring a gentle crunch and extra toastiness on top.
- Water & Salt (For Shaping): Wet, lightly salted hands prevent sticky disasters when forming rice balls.
Tired of Takeout? 🥡
Get 10 meals you can make faster than delivery arrives. Seriously.
One email. No spam. Unsubscribe anytime.
Instructions
- Make Perfect Rice:
- Rinse the rice until the water runs absolutely clear—it might take a few rounds, but it's worth it for fluffy grains. Cook the rice with measured water, let it steam, then stir in salt and optional vinegar for a little tang.
- Prepare Savory Salmon:
- Brush salmon with soy sauce, mirin, sesame oil, salt, and pepper—your kitchen will smell amazing as it cooks. Grill or bake the salmon until it's just cooked and flakes apart easily, then set it aside to cool.
- Form Onigiri Shapes:
- Get your hands wet and salted, scoop a palmful of rice, and press a little well in the center. Hide a spoonful of salmon inside and gently mold the rice around it, pressing into triangles—don't worry if it's not perfect.
- Grill for Crispness:
- Heat a nonstick or grill pan with a touch of oil, then cook each onigiri side until golden and crackly. Brush lightly with soy sauce as they grill for extra flavor and a shiny, tasty crust.
- Add Nori and Serve:
- Wrap each rice ball with a strip of nori, sprinkle sesame seeds if you like, and serve them warm or at room temperature—snack time, reinvented.
 Save to Pinterest
  Save to Pinterest
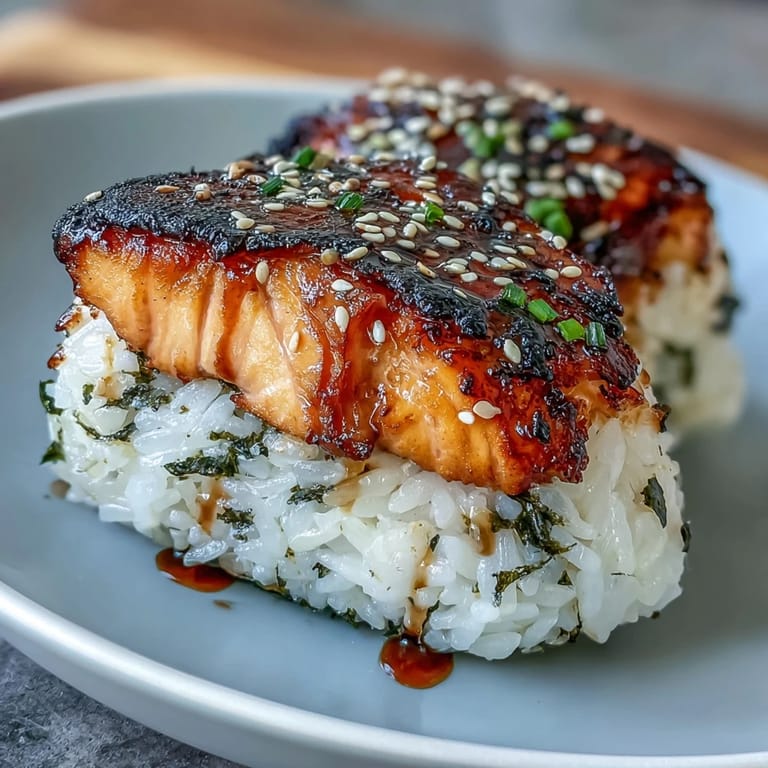
 One sunny afternoon, I watched a friend's hands move confidently as she pressed the rice around the salmon—her calm focus made the process feel peaceful, almost meditative. That small moment transformed these onigiri into a symbol of slowing down and sharing something made with care.
How to Make Them Picnic-Perfect
I learned to let the onigiri cool a bit before packing them up; this keeps them from steaming in the container and prevents nori from getting soggy too quickly. They're easy to tuck into bento boxes or wrap individually in parchment—just don’t stack them until the outside cools.
Switch-Up Suggestions
Sometimes I substitute grilled mackerel or flavored tuna for the salmon when I’m in the mood for something stronger. Swapping out the filling lets you tailor each batch to your tastes or to what you have on hand—adventurous eaters, take note.
Last-Minute Tricks & Troubleshooting
There are days when the rice tries to rebel and everything falls apart, but a little more water on your hands and patience always helps. If a triangle crumbles, just reshape gently—no one’s grading you here.
- If your rice is too sticky to handle, wet your hands a bit more often.
- Patch a torn onigiri with an extra pinch of rice and press gently.
- Don’t worry about perfect shapes—wonky onigiri taste just as amazing.
 Save to Pinterest
 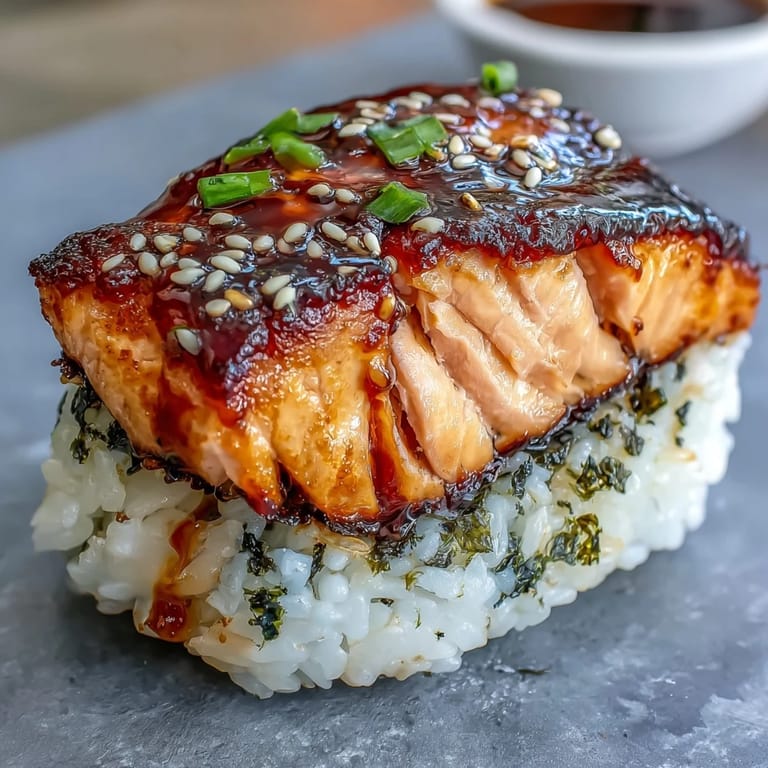 Save to Pinterest
 However you shape them, grilled salmon onigiri always bring a little comfort and a lot of flavor. Just don’t be surprised if they disappear the moment you set them out.
Recipe FAQs
- → What rice should I use for best results?
Use Japanese short-grain rice for its stickiness and chew. Rinse until water runs clear and let it rest after cooking to achieve the right texture for shaping.
- → Can I substitute canned salmon?
Yes. Drain and flake canned salmon, then season with soy and mirin to boost flavor. Fresh grilled salmon gives a cleaner texture, but canned works well for convenience.
- → How do I keep the onigiri from falling apart?
Wet your hands and rub a pinch of salt on your palms before shaping. Use warm, slightly sticky rice and press firmly but gently so the grains bind without becoming dense.
- → Any tips for achieving a crispy exterior?
Lightly oil a nonstick skillet and cook over medium heat for 2–3 minutes per side until golden. Brushing with a little soy before flipping adds color and a glossy finish.
- → How long can leftovers be stored?
Keep cooled onigiri in an airtight container in the fridge for up to 2 days. Reheat briefly in a skillet or eat at room temperature; avoid long storage to keep rice texture pleasant.
- → What are good flavor additions or pairings?
Sprinkle toasted sesame seeds, add a dab of wasabi or a piece of pickled plum for tang. Pair with green tea or a light miso soup to round out the meal.