 Save to Pinterest
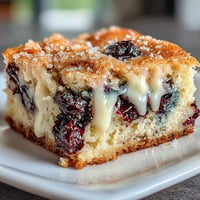
 These pistachio cheesecake bites landed in my kitchen by accident—I'd bought way too much pistachio paste for a sauce that never happened, and I found myself staring at the jar one Tuesday evening, wondering what else it could become. The answer hit me while scrolling through old notes: no-bake cheesecake, but reimagined as something you could eat with one hand at a dinner party. Three hours later, after setting the first batch in the fridge, I caught myself checking them obsessively, and when I finally tasted one, I understood why I'd be making them again and again.
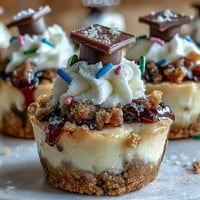
I'll never forget serving these to my sister's book club last spring—one of her friends, who claimed to be "not a dessert person," somehow ended up with three on her plate and asked for the recipe before leaving. That moment sealed it for me: these bites have a way of converting the skeptics.
Ingredients
- Shelled unsalted pistachios (1 cup): The star of the show—raw and unsalted so the flavor stays pure and doesn't compete with the sweetness.
- Graham cracker crumbs (1/2 cup): Your textural backbone, giving the crust that satisfying crunch that contrasts with the creamy filling.
- Unsalted butter (3 tbsp, melted): Binds everything together and adds richness; melting it first means no cold spots in the crust.
- Granulated sugar (2 tbsp): A light hand with sugar here keeps the focus on the pistachio, not on sweetness.
- Salt (pinch): Barely there, but it wakes up the pistachio flavor and balances the sweetness.
- Cream cheese (8 oz, softened): The foundation of your filling—room temperature is non-negotiable, or you'll be beating it for ages.
- Powdered sugar (1/3 cup): Creates that silky mouthfeel and dissolves without graininess.
- Heavy cream (1/4 cup): Whipped to soft peaks, it's what makes this filling cloud-like instead of dense.
- Pistachio paste (1/3 cup): The real MVP—use the smooth kind so you don't end up with little bits that catch your teeth, and check the label to make sure it's just pistachios.
- Vanilla extract (1 tsp): A humble addition that somehow makes everything taste more like itself.
- Lemon zest (from 1/2 lemon, optional): If you add it, you'll taste brightness instead of heaviness—it's the difference between these tasting like a fancy dessert or a memory.
- Chopped pistachios (2 tbsp for garnish): The finishing touch, giving each bite visual depth and that little crunch on top.
Tired of Takeout? 🥡
Get 10 meals you can make faster than delivery arrives. Seriously.
One email. No spam. Unsubscribe anytime.
Instructions
- Set up your stage:
- Line your mini muffin tin with paper liners or use a silicone mold—this matters more than you think, because trying to pop a set cheesecake bite out of bare metal is a recipe for frustration.
- Build the crust base:
- Pulse your pistachios in a food processor until they're finely ground but not quite paste; you want texture here. Add the graham cracker crumbs, sugar, and salt, pulse again until everything is mixed, then drizzle in the melted butter and pulse one more time until it looks like wet sand—that's your signal to stop.
- Press and pack:
- Spoon about a heaping tablespoon of crust mixture into each muffin cup and press it down firmly with the bottom of a small glass or a measuring spoon; you're creating a foundation that won't crumble when you bite into it.
- Prepare your filling base:
- Beat your softened cream cheese in a bowl until it's completely smooth with no lumps, then add the powdered sugar, pistachio paste, and vanilla, and beat until everything is combined and creamy.
- Make it airy:
- In another bowl, whip the heavy cream to soft peaks—you want pillowy clouds, not stiff peaks. Fold this whipped cream gently into your cream cheese mixture along with the lemon zest if you're using it, folding just until no streaks of white remain.
- Fill with care:
- Spoon or pipe the filling onto your crusts, smoothing the tops with the back of a spoon or an offset spatula; these are small, so a little refinement goes a long way.
- The hardest part—waiting:
- Refrigerate for at least 3 hours; the filling needs time to set and the flavors need time to settle into each other.
- Finish and serve:
- Remove the bites from the tin, peel away the paper liners, and top each one with a sprinkle of chopped pistachios or white chocolate shavings if you're feeling fancy.
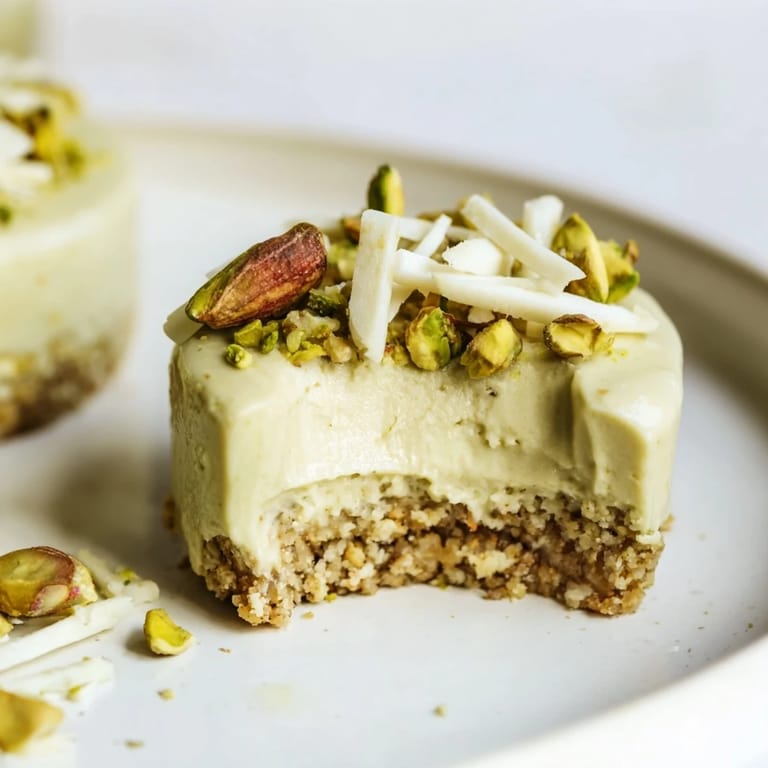 Save to Pinterest
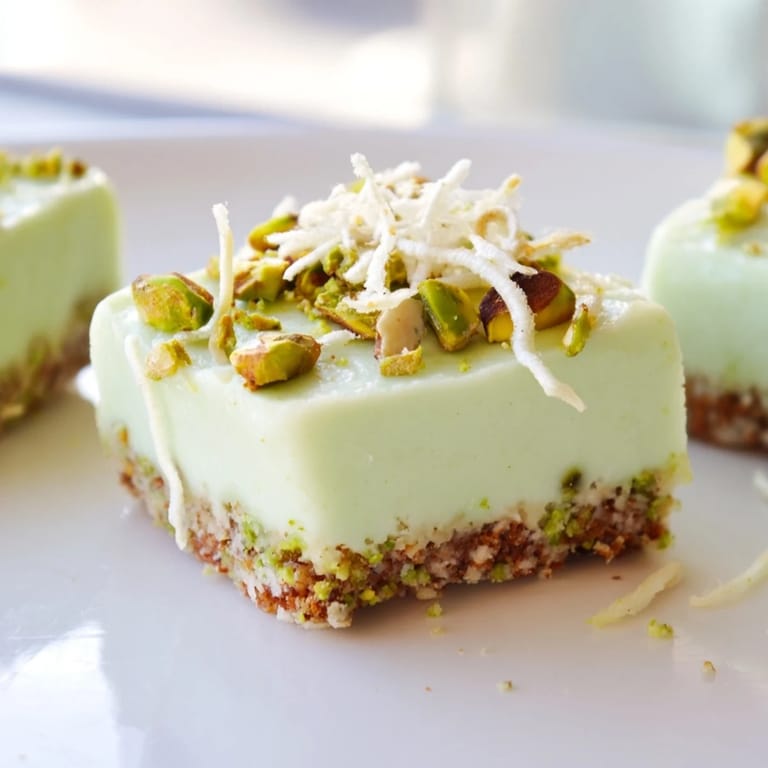
 There's something deeply satisfying about pulling these out of the fridge after hours of waiting and seeing them perfectly set, each one like a tiny jewel box of flavor. My hands moved through plating them for the first time, and I realized I'd been holding my breath the whole time—that's when I knew they were keepers.
Why This Recipe Works
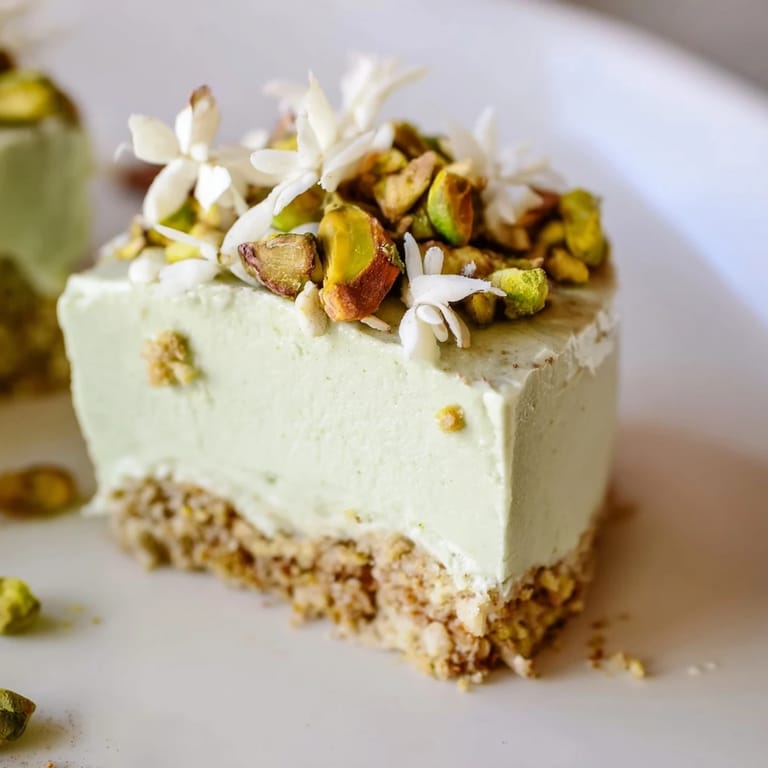
The magic here is in the balance: the pistachio flavor appears in two forms—ground in the crust for crunch and as paste in the filling for creaminess—so you taste it throughout the whole bite, not just at the top or bottom. The no-bake method keeps everything light and prevents any risk of a dense, heavy cheesecake base, and that whipped cream is what separates these from just being scoops of pistachio mousse. I've learned that the simplest recipes are often the ones where every single ingredient pulls its weight, and this is a perfect example.
Making Pistachio Paste at Home
If you can't find quality pistachio paste at the store, making your own is honestly easier than you'd think—just blend shelled pistachios in a food processor for about 5 minutes, scraping down the sides a couple of times, until the oils release and you end up with something smooth and spreadable. It takes longer than you expect because there's this moment where it looks like chunky dust, and you wonder if you're doing it wrong, but then suddenly it breaks and becomes silky. The homemade version tastes brighter than store-bought, and it's worth the small effort.
Storage and Make-Ahead Magic
These live happily in the fridge for up to three days in an airtight container, which means you can make them the day before a party and spend your energy on other things instead of panicking in the kitchen. You can also assemble them through the filling stage and refrigerate before garnishing, giving yourself a little flexibility when it comes time to serve.
- Cover them loosely with plastic wrap if you're storing them in the tin to prevent the filling from absorbing fridge odors.
- Let them sit at room temperature for about 10 minutes before serving if you like them a bit softer and creamier.
- If you've added the pistachio garnish, don't store them more than a few hours before serving or the nuts will soften from the moisture in the filling.
 Save to Pinterest
 These bites have become my go-to when I want to impress without the stress, and they always remind me why I fell in love with the idea in the first place—something delicious that doesn't require an oven or an hour of your attention. They're proof that sometimes the best desserts are the ones that give you time to enjoy the people around you instead of worrying about what's baking in the kitchen.
Recipe FAQs
- → How do I make the pistachio crust?
Pulse shelled pistachios with graham cracker crumbs, sugar, and a pinch of salt until sandy. Add melted butter and mix until the crust holds together well.
- → Can I prepare these bites ahead of time?
Yes, they need to chill at least three hours to set, making them ideal for advance preparation and keeping refrigerated until serving.
- → What is the role of lemon zest in the filling?
Lemon zest adds a subtle brightness that balances the richness of the cream cheese and pistachios, enhancing overall flavor complexity.
- → How can I make a gluten-free version?
Use gluten-free graham cracker crumbs for the crust to ensure this dessert meets gluten-free needs.
- → What toppings work best for garnish?
Chopped pistachios provide extra crunch, while white chocolate shavings or dried rose petals create an elegant finish.