Save to Pinterest
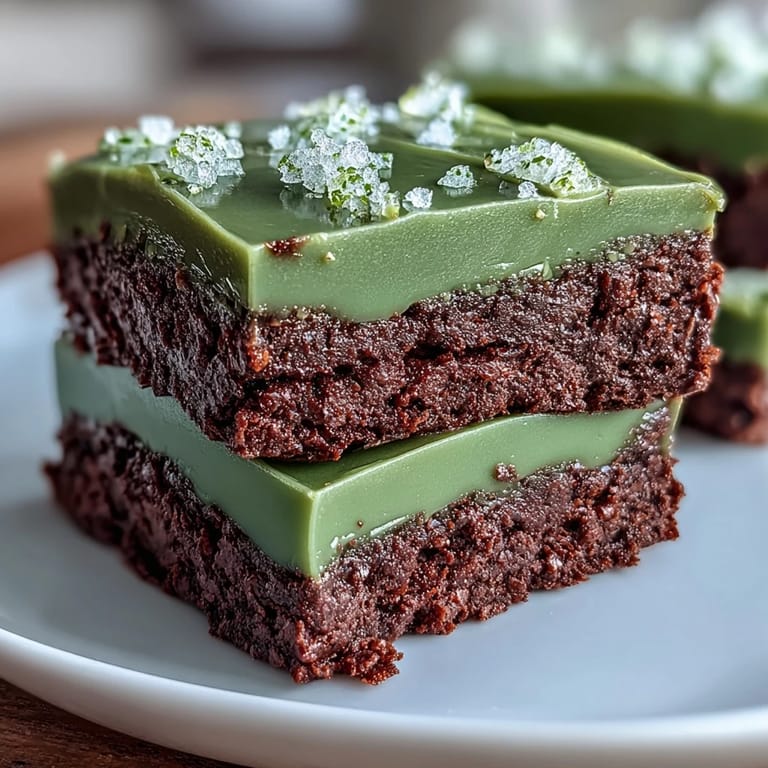
 My sister called me three days before St. Patrick's Day in a slight panic—she'd volunteered to bring dessert to the office party but had no idea what to make. I suggested these shamrock brownies almost without thinking, but then I remembered why they're so special: that moment when you pull a batch from the oven and the chocolate smell hits you like a warm hug, followed by the satisfying snap of a fresh brownie breaking in half. There's something about turning a simple chocolate treat into a festive shape that makes people smile before they even taste it.
I made my first batch of these for a St. Patrick's Day potluck at work, and watching coworkers' faces light up when they saw the shamrock shapes was honestly more rewarding than eating them—though they disappeared within minutes. Someone asked if I'd bought them from a bakery, which felt like the highest compliment, and that's when I realized these brownies bridge the gap between homemade charm and impressive presentation.
Ingredients
- Unsalted butter: Using unsalted lets you control the salt level and prevents the icing from tasting overly salty.
- Granulated sugar: This is your brownie's sweetness backbone—don't skimp on quality here.
- Large eggs: Room temperature eggs blend more smoothly and create a lighter crumb.
- Vanilla extract: A teaspoon adds warmth that deepens the chocolate flavor.
- Unsweetened cocoa powder: This is where the chocolate intensity lives—use good quality if you can.
- All-purpose flour: Keep your hand light when mixing to avoid tough brownies.
- Salt and baking powder: These humble ingredients lift the chocolate and prevent a dense, heavy texture.
- Powdered sugar: This creates that smooth, spreadable icing without grittiness.
- Milk: Whole milk makes the icing creamier than skim.
- Green food coloring: Add drops gradually so you don't overshoot the color and end up with army green.
- Green sprinkles or sanding sugar: Optional but they catch the light beautifully and add festive sparkle.
Tired of Takeout? 🥡
Get 10 meals you can make faster than delivery arrives. Seriously.
One email. No spam. Unsubscribe anytime.
Instructions
- Heat and Combine:
- Melt the butter in a saucepan over low heat—you want it quiet and gentle, not bubbling aggressively. Once melted, whisk in the sugar, eggs, and vanilla until everything looks smooth and well-blended, which takes about a minute of whisking.
- Fold in the Dry Goods:
- Add the cocoa powder, flour, salt, and baking powder, then stir just until you don't see any white streaks of flour. This is the moment to stop—overmixing creates tough brownies, and nobody wants that.
- Into the Oven:
- Pour the batter into your parchment-lined pan and smooth the top gently with a spatula. Bake at 350°F for 25 to 30 minutes, checking around the 25-minute mark with a toothpick—you want it to come out with a few moist crumbs clinging to it, not clean.
- Cool with Patience:
- Let the brownies cool completely in the pan on a wire rack before touching them. This step feels tedious but it's crucial—warm brownies fall apart when you cut them.
- Make the Icing Magic:
- While you wait, beat together the powdered sugar, softened butter, milk, and vanilla in a bowl until it's smooth and spreadable. Add green food coloring one drop at a time, stirring between additions, until you reach your ideal shade of green.
- Cut into Shamrocks:
- Lift the cooled brownie slab from the pan using the parchment overhang, then press your shamrock cutter straight down firmly and wiggle it slightly to release each shape. Wipe the cutter clean between cuts so you get sharp edges.
- Spread and Decorate:
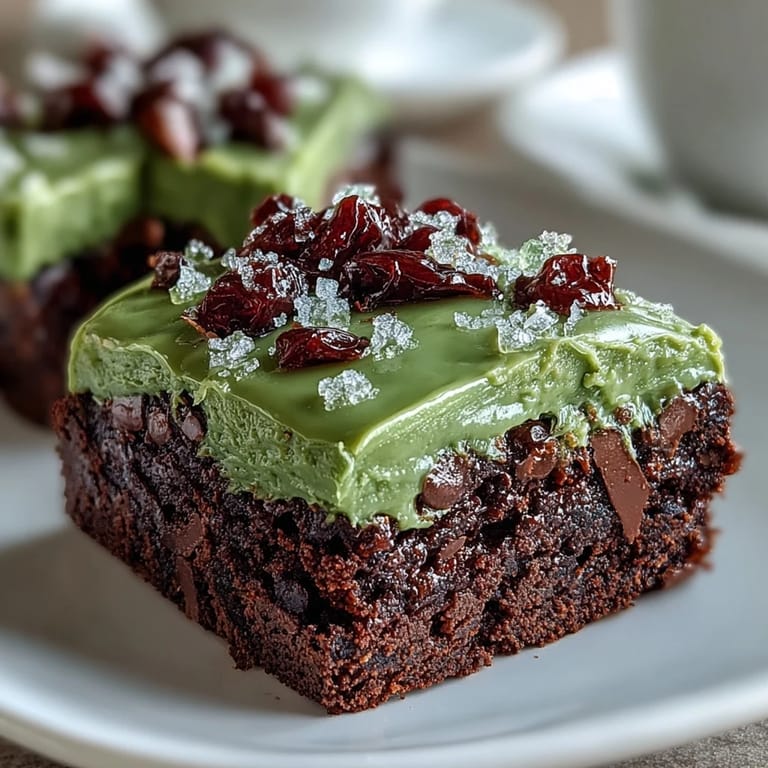
- Generously spread the green icing over each shamrock, then sprinkle green sanding sugar or sprinkles on top if you want extra festiveness. Let the icing set for at least 15 minutes before serving.
 Save to Pinterest
 These brownies ended up being exactly what my sister needed that year—not just food, but a little moment of creative celebration that made the day feel special. Now every St. Patrick's Day, someone asks if I'm bringing shamrock brownies, and that's become its own kind of tradition.
Dealing with Brownie Scraps
The edges and any imperfect pieces from cutting are too good to waste, and I've learned several ways to repurpose them. Crumble them over vanilla ice cream for an instant brownie sundae, layer them into a brownie trifle with whipped cream and chocolate sauce, or simply enjoy them as rich little bites while you're decorating. My roommate once caught me eating the scraps straight from the cutting board while the shaped brownies cooled, and honestly, that's a valid strategy too.
Storage and Make-Ahead Tips
You can bake the brownies up to two days ahead and keep them in an airtight container, then ice and decorate them on party day if that eases your stress. The icing also holds up beautifully once set, so these brownies are actually better a few hours after decorating when the icing has firmed up slightly. Store the finished shamrocks in a single layer in an airtight container at room temperature for up to three days, and they'll stay fudgy and fresh.
Creative Variations and Add-Ins
Once you master the basic recipe, there's room to play around and make it your own. Try folding in mini chocolate chips, chopped walnuts, or even a handful of crushed candy canes for a peppermint twist. You could also swap the green icing for cream cheese frosting for a tangier flavor, or add espresso powder to the brownie batter to deepen the chocolate notes and make them feel more sophisticated.
- Toast nuts lightly before adding them to the brownie batter for more intense flavor.
- Cream cheese icing requires one ounce of softened cream cheese mixed into the standard icing recipe.
- If your icing looks too thick, add milk one teaspoon at a time until it reaches the right spreading consistency.
 Save to Pinterest
 These shamrock brownies have become my go-to St. Patrick's Day contribution because they prove that simple, good chocolate with a little festive flair is sometimes all a celebration needs. Make them, share them, and watch people's faces brighten—that's the real magic.
Recipe FAQs
- → What gives the green icing its color?
The green color comes from adding green food coloring to a smooth mixture of powdered sugar, butter, milk, and vanilla extract.
- → How do I ensure moist brownies?
Mix the batter until just combined without overmixing, and bake until a toothpick comes out with a few moist crumbs to keep them fudgy.
- → Can I make the shamrock shapes without a cookie cutter?
A shamrock cookie cutter is recommended for the best shape, but you can try cutting shapes freehand or use other festive cutters for variation.
- → How long should I let the brownies cool before icing?
Allow the brownies to cool completely in the pan on a wire rack to ensure the icing adheres well without melting.
- → Are the brownies suitable for vegetarians?
Yes, these brownies use no meat products and are vegetarian-friendly, containing butter, eggs, and dairy.
- → Can I add mix-ins to the brownie batter?
Yes, mini chocolate chips or chopped nuts can be folded into the batter for extra texture and flavor.