 Save to Pinterest
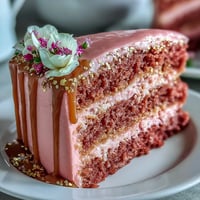
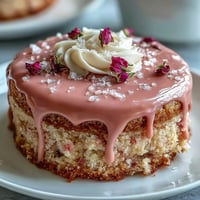
 Some afternoons beg for an excuse to crank up the oven and create something festive, like these easy graduation cheesecake bites. The first time I made them, the sun was streaming through my kitchen window, and tiny flecks of graham cracker dust danced in the air while I pressed the crusts into their liners. Nothing quite signals a celebration like the rich, tangy scent of cream cheese warming gently in the oven—especially when topped with sprinkles and tiny edible graduation caps. Somehow, even on an ordinary weekday, these little cheesecakes manage to stir up a bit of party magic.
I still laugh remembering how I accidentally dropped a handful of sprinkles onto the entire tray right before serving them at my cousin's graduation bash; they became an unexpected confetti—and everyone loved it even more. These cheesecake bites have become my secret weapon for last-minute celebrations, where every guest is suddenly grinning with a treat in hand.
Ingredients
- Graham cracker crumbs: Pressing gently is key to a base that doesn't crumble—I've found a shot glass helps pack them in tightly.
- Granulated sugar: Adds just the right sweetness; I once tried skipping it and sorely missed the contrast with the tangy filling.
- Unsalted butter, melted: Warm butter brings the crust together smoothly—be sure it's fully melted so the crumbs stick.
- Cream cheese, softened: Room temperature makes for a silkier texture; give it 30 minutes out of the fridge for easy mixing.
- Eggs: Adding these one by one keeps your filling creamy, not overbeaten.
- Pure vanilla extract: Just a splash transforms the flavor; real vanilla makes it special.
- Sour cream: This balances the cheesecake, making it smooth and tangy—don't skip it!
- Salt: Just a pinch sharpens all the flavors—I've learned more is definitely not better here.
- Whipped cream (optional): Fluffy clouds on top, but pipe right before serving so it holds its shape.
- Festive sprinkles or mini chocolate graduation caps: Go wild with colors or chocolate details—they get conversation started and photos snapped.
- Fresh berries for garnish: Adds brightness and a juicy pop—a last-minute addition that looks and tastes vibrant.
Tired of Takeout? 🥡
Get 10 meals you can make faster than delivery arrives. Seriously.
One email. No spam. Unsubscribe anytime.
Instructions
- Prep Your Pan:
- Preheat the oven to 325°F (160°C) and line a mini muffin pan with paper liners; the crinkle of the papers is oddly satisfying.
- Make the Crust:
- Stir graham crumbs, sugar, and melted butter until it feels like damp sand, then spoon a tablespoon into each liner and press down—use your finger or a glass for a compact base.
- Parbake the Crusts:
- Bake for 5 minutes; your kitchen will fill with a toasty, buttery aroma. Let them cool while you whip up the filling.
- Mix the Filling:
- Beat cream cheese until luxuriously smooth, add sugar and beat again, then eggs one by one. Fold in vanilla, sour cream, and salt just until combined—scrape the bowl edges to catch any lumps.
- Fill and Bake:
- Divide the creamy batter among the crusts, nearly to the top. Bake 13–15 minutes until mostly set in the center—if it still jiggles slightly, you're on track.
- Cool Down:
- Cool the bites in their pan for 10 minutes (they sink a bit—totally normal). Move to a rack to finish cooling, then refrigerate for at least half an hour; the anticipation is the hardest part.
- Decorate and Serve:
- Right before serving, swirl with whipped cream, toss on graduation-themed toppings, or dot with berries—now they’re ready for their big debut.
 Save to Pinterest
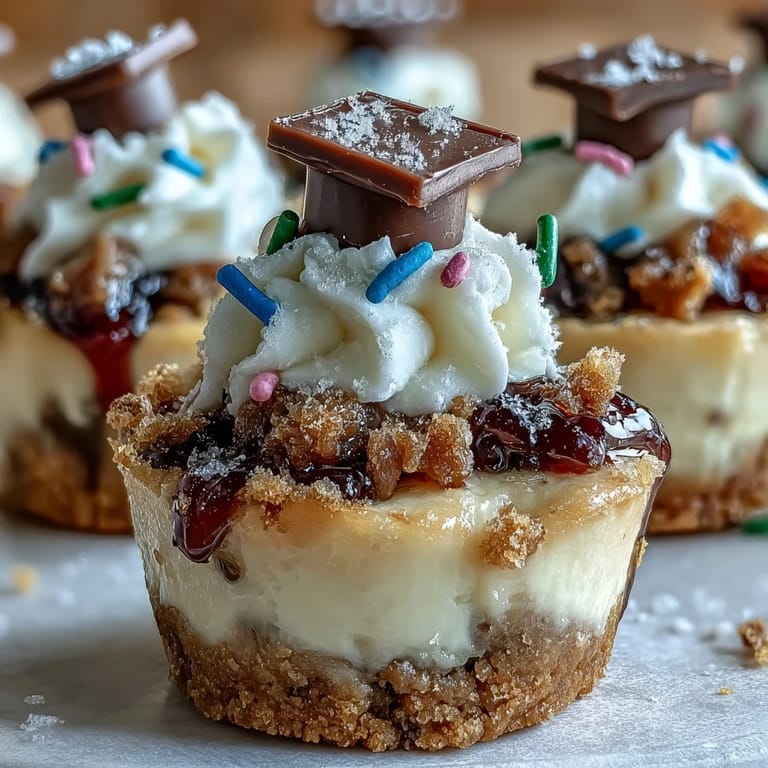
 There was one graduation party where these disappeared within minutes; even the most serious grown-ups snuck back for seconds, laughing at their blue-stained tongues from the sprinkles. Somewhere in the background, someone snapped a photo of the dessert platter—now it's a framed memory in their new apartment.
Choosing the Perfect Toppings
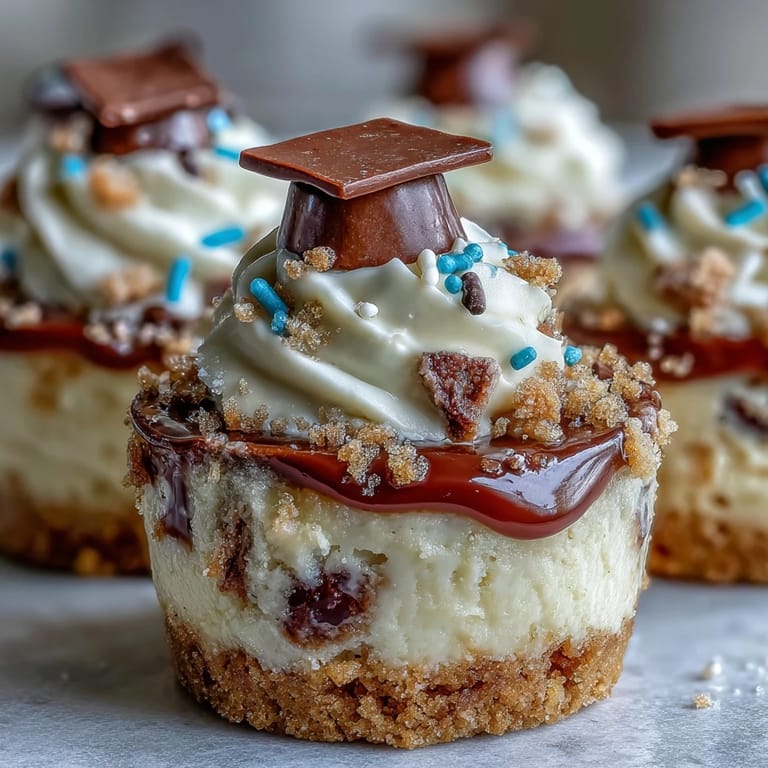
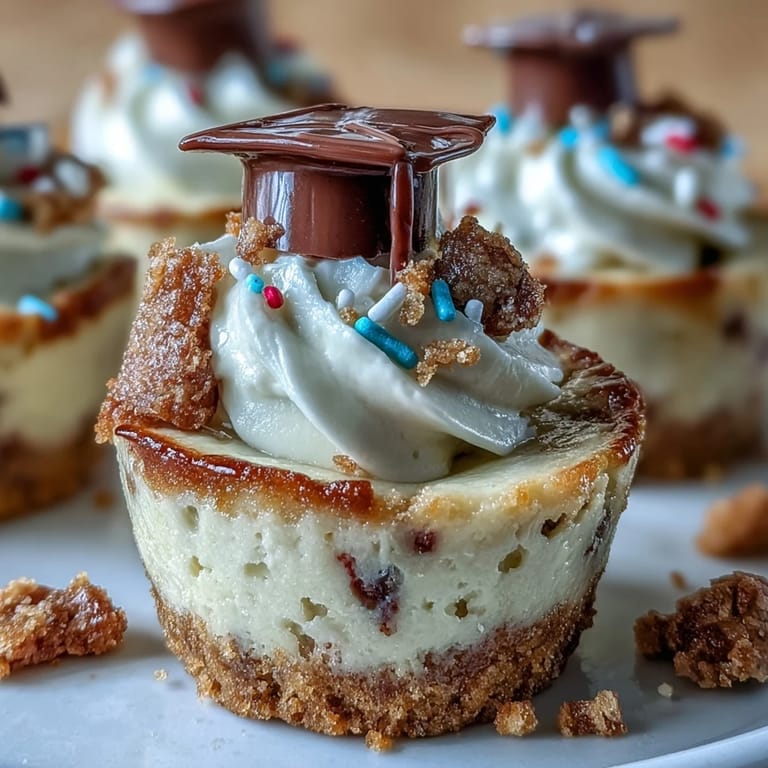
From chocolate squares transformed into tiny graduation caps with licorice tassels, to jewel-toned berries and mountains of whipped cream, the toppings are your playground. I've learned that letting guests decorate their own can be as fun as eating them, and sometimes the most unexpected combinations end up looking the most festive.
Making Ahead and Storage
These bites can be made a day ahead—just hold off on topping until right before serving so nothing wilts or runs. Store the plain cheesecakes covered in the fridge, and they’ll happily keep their perfect creamy texture for hours.
Allergy-Friendly and Quick Swaps
For friends who are gluten-free, swapping graham crumbs for GF cookies has saved the day more than once. Dairy-free folks can try their favorite vegan cream cheese and substitute coconut cream for a close alternative. Always double check the labels if guests have other allergies, and keep a stash of toppings that everyone can enjoy.
- Let the cheesecake bites come to room temperature for 10 minutes for best flavor.
- If the crusts seem crumbly, add another spoonful of melted butter.
- Don’t be afraid to get creative with your decorations.
 Save to Pinterest
 Whether you're toasting graduates or simply craving a portable dessert, these cheesecake bites promise bite-sized celebration every single time. Enjoy them—messy sprinkles, proud smiles, and all.
Recipe FAQs
- → What oven temperature and bake time work best?
Bake at 325°F (160°C) for about 13–15 minutes in a 24‑cup mini tin. Look for centers that are just set with a slight jiggle to avoid overbaking and a dry texture.
- → How do I prevent cracks or sinking centers?
Beat cream cheese until smooth and avoid overmixing once eggs are added. Bake at a moderate temperature and remove when centers still have a small jiggle; cooling gradually reduces sinking.
- → Can I swap the graham crust for a gluten-free base?
Yes. Use finely ground gluten-free cookies or almond flour mixed with melted butter and sugar; press into liners and prebake briefly to set before filling.
- → How far ahead can these be made and stored?
Make them up to one day ahead and refrigerate covered. Add whipped cream and delicate decorations just before serving to keep toppings fresh.
- → Any tips for decorating for graduation?
Top with whipped cream, fresh berries, sprinkles, or small chocolate squares and licorice string to suggest miniature graduation caps for a festive touch.
- → Can these be frozen for later?
Yes. Chill fully, then freeze unadorned cheesecakes in a single layer on a tray before transferring to a sealed container. Thaw in the refrigerator and add toppings before serving.