 Save to Pinterest
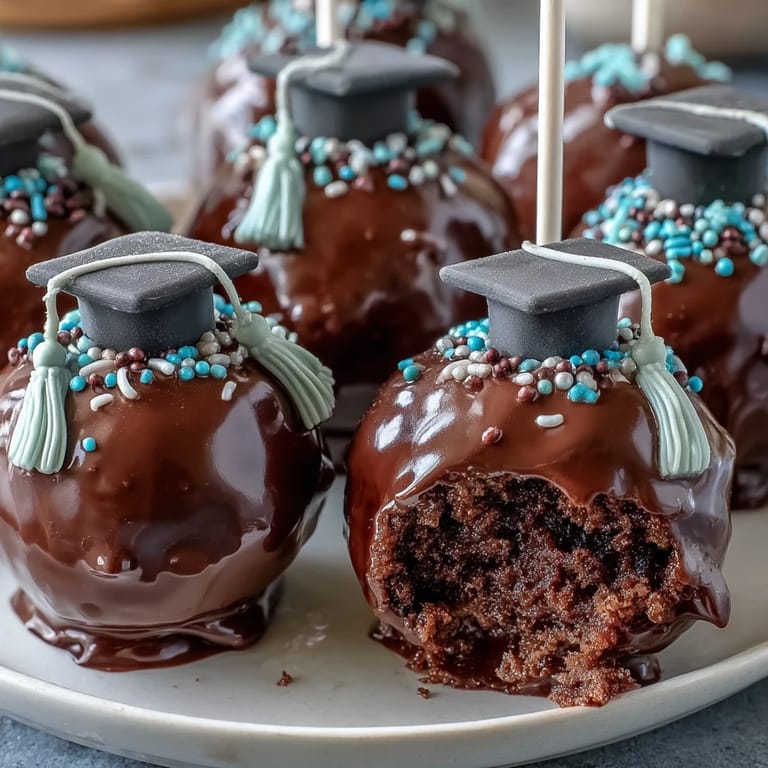
 The first time I made graduation cake pops, the kitchen was alive with laughter and music, and I remember the sweet scent of warm cake filling the air. The process of crumbling the cake felt oddly therapeutic, and I found myself humming along as I mixed frosting into the crumbs with my hands. There was a certain thrill in watching the candy melts swirl into the school colors, anticipating how they'll shine as each pop is decorated. Not every pop ended up perfectly round, but the imperfect ones still held their sparkle. That little rush of excitement before the first dip never gets old, especially knowing each treat will brighten someone's special day.
One spring afternoon, after a graduation ceremony, I was surrounded by friends eagerly trying to guess which pop matched their school colors. We all crowded around the kitchen counter, fingers sticky and faces marked with little smudges of candy melt, and shared stories about the graduates. Someone joked about how the fondant caps looked a bit crooked, and it just made us laugh more. There was something about celebrating milestones with homemade treats that turned the moment into a memory. Even the smallest decorations became topics of conversation, and the cake pops disappeared as quickly as the laughter.
Ingredients
- Cake: Whether you choose a boxed cake mix or homemade cake, make sure it's fully cooled so the crumbs form well. I’ve found that vanilla cake shows off colored coating vividly, but chocolate adds a richer flavor – both are delicious.
- Cream cheese or buttercream frosting: Start with less frosting and add more if needed; too much muddies the texture, but just enough helps the pops hold together beautifully.
- Candy melts or white chocolate: Candy melts in school colors give the perfect festive look, but white chocolate plus food coloring works well in a pinch. Melt slowly to avoid scorching.
- Vegetable shortening: A little shortening smooths and thins the coating, making dipping easier and creating that glossy finish.
- Sprinkles, edible glitter, colored sugar: Don’t be shy with decorations – they turn ordinary cake pops into show-stoppers and you can coordinate them however you wish.
- Lollipop sticks: Press them firmly into the cake ball to prevent sliding; I usually give them a little twist while inserting.
- Mini chocolate chips: These tiny chips make perfect tassels or accents for graduation caps – just attach them with a touch of melted chocolate.
- Fondant in school colors: Optional, but fondant squares make each pop look extra professional when representing the graduation caps.
Tired of Takeout? 🥡
Get 10 meals you can make faster than delivery arrives. Seriously.
One email. No spam. Unsubscribe anytime.
Instructions
- Bake and cool the cake:
- Bake your cake according to your chosen recipe or box instructions, then let it cool fully so the crumbs don't clump. You’ll notice the aroma mellowing as it cools – a sign it's ready.
- Crumble the cake:
- Once cooled, gently break cake into fine crumbs in a big bowl. Use your hands; it’s messy but surprisingly satisfying.
- Add frosting and mix:
- Start folding in frosting with a spatula, then switch to clean hands for even mixing. Add just enough to form a dough that holds its shape but isn't sticky.
- Shape the pops:
- Scoop out tablespoon-sized bits, rolling them between your palms to make 24 smooth balls. Place them onto a lined baking sheet for chill time.
- Chill the balls:
- Cover and chill the cake balls in the fridge for at least 1 hour or freeze for 20 minutes. Proper chilling keeps them from falling off the stick during dipping.
- Melt and prep the coating:
- In a microwave-safe bowl, melt candy melts or chocolate in 30-second bursts, stirring each time. If it’s thick, add shortening for a silky texture.
- Insert sticks:
- Dip the tip of each lollipop stick into melted coating before pushing it halfway into a cake ball. This seals the stick and anchors the pop.
- Dip the pops:
- Immerse each cake pop carefully into the melt, turning to cover fully, then tap gently to shake off excess. Work quickly for a smooth coat.
- Decorate:
- While the coating is still wet, sprinkle on decorations and add fondant caps or chocolate chip tassels as desired. Every pop can have its own flair.
- Set and enjoy:
- Stand each dipped pop upright in a foam block or cake pop stand and let it set until the coating is firm. Now, they're ready to serve or package.
 Save to Pinterest
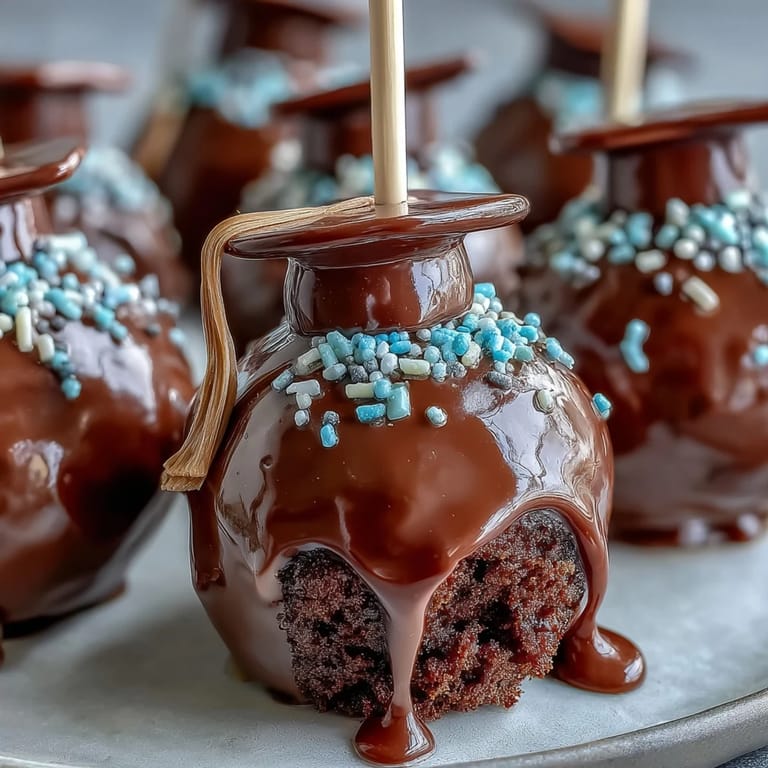
 When I saw a tray of these cake pops being handed out at a graduation party, the smiles as people recognized their school colors and admired the tiny caps were unforgettable. It was clear these pops were more than dessert – they became a keepsake, a little taste of celebration and accomplishment.
A Guide to Getting the Coating Just Right
Don’t rush melting the candy melts; stir often and melt in short bursts, since overheating leads to thick or grainy coating. If the melted coating seems stubborn, a spoonful of shortening can loosen things up and add shine. Working with colored melts is easier if you keep them warm – I like to set the bowl atop a mug of hot water. The coating sets quickly, so have your decorations nearby before starting. A smooth, glossy finish makes the pops extra special and easier to wrap.
Easy Strategies for Rolling and Shaping
Roll cake balls between two slightly damp palms for even, smooth surfaces. Use a cookie scoop for portioning, so every pop stays uniform in size. If the mixture sticks, chill your hands and the dough. Don’t stress over a few imperfections, as decorations will hide small dents. Practice makes the shaping process faster and more enjoyable.
Fun Ways to Personalize Your Cake Pops
Try mixing and matching cake flavors, frostings, or colors for pops that represent more than one graduate. Edible markers can transform each cake pop with graduation years or initials. Fondant tassels or mini chocolate chips add professional touches, while colorful sprinkles bring every pop to life.
- Keep a damp towel handy to wipe sticky fingers as you decorate.
- Label pops for different graduates using edible ink or tags for easy identification.
- Always let pops set fully before packing, or the coating will smudge.
 Save to Pinterest
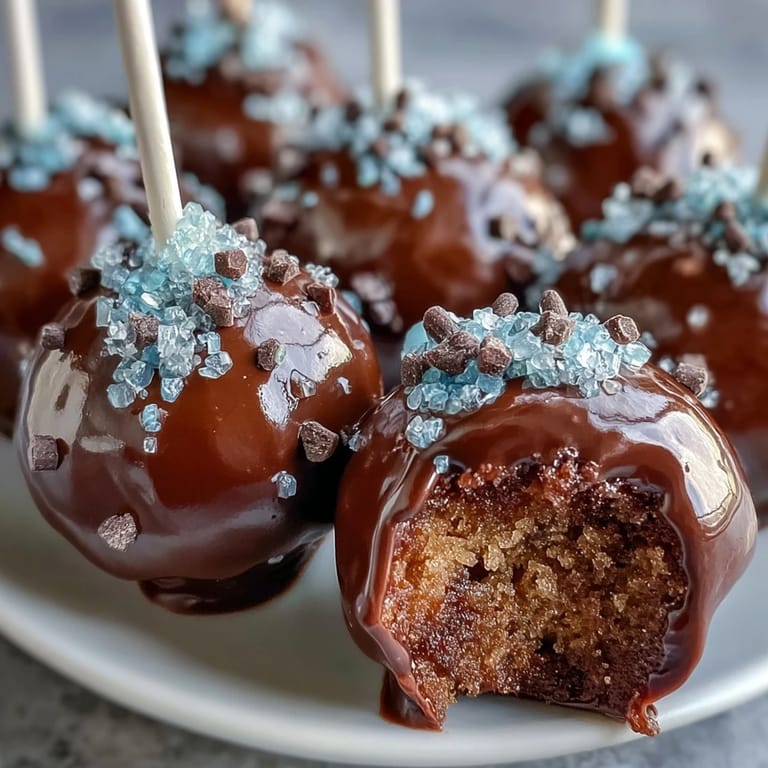
 These graduation cake pops always turn cheerful occasions into something memorable – I hope they bring smiles to your celebration too.
Recipe FAQs
- → How do I match cake pops to school colors?
Use colored candy melts or white chocolate with food coloring. Choose sprinkles and fondant in school colors for decorations.
- → Can the pops be made gluten-free?
Yes, use gluten-free cake mix and ensure all other ingredients and decorations are free from gluten.
- → How do I prevent cake pops from falling off the stick?
Dip the stick tip in melted chocolate before inserting into the cake ball, then chill pops well before coating.
- → How do I create graduation cap decorations?
Top pops with fondant squares and use mini chocolate chips as tassels, attaching with a dab of melted chocolate.
- → How long do cake pops stay fresh?
Store at room temperature up to 3 days or refrigerate up to a week in an airtight container.